
Before You Follow a Move, Confirm Who Is Actually Behind It
Every session produces dozens of moves that look convincing for a few bars and then evaporate. The difference between a move worth trading and a move worth ignoring usually comes down to one question: is there a large, committed participant actually behind this, or is it retail flow and short-lived momentum feeding on itself?
This is the confirmation layer that sits on top of everything else in an order-flow-based process. Absorption tells you a level is being defended. A filtered footprint shows you where large orders sit. Neither one alone tells you whether the broader move has real institutional weight behind it. That requires checking multiple signals together — not any single one in isolation.
Why a Single Signal Isn't Enough
A large print can be a single algo working an order in slices. A delta spike can reverse within minutes. A break of a high-volume node can be a false start that gets reclaimed. Any one of these signals produces false positives regularly enough that trading off it alone is a coin flip dressed up as analysis.
Big player confirmation works differently: it treats each signal as a vote, not a verdict. A move earns your trust once multiple independent signals point the same direction at the same time.
The Four-Signal Confirmation Checklist
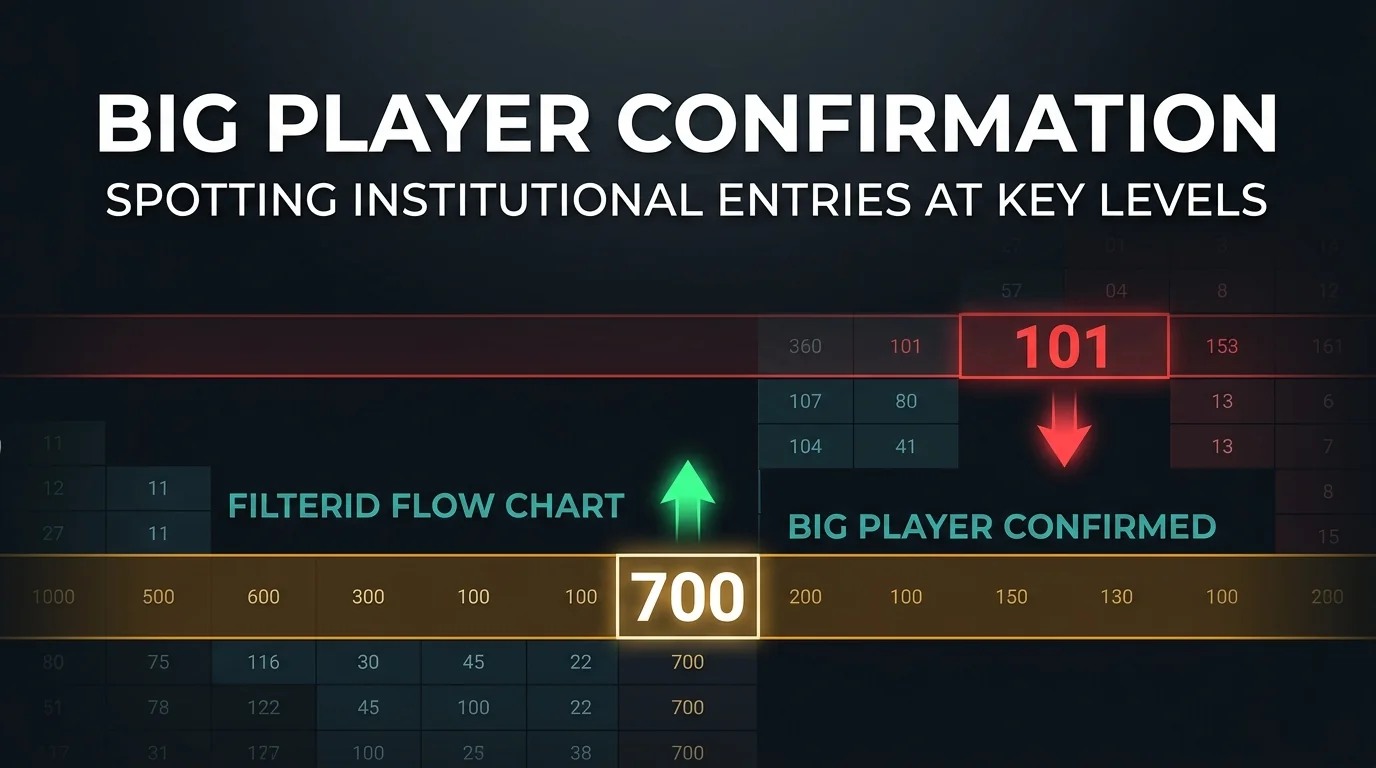
1. Large Prints in the Direction of the Move
Using a calibrated order flow trade filter, check whether the orders surviving the filter are actually aligned with the move's direction, not scattered noise. A trending move backed by real size shows a pattern of large prints stacking in the same direction as price, not isolated one-off blocks.
2. Cumulative Delta Agreeing With Price
Cumulative delta (CVD) should be rising alongside price on an up-move, and falling alongside price on a down-move. When price pushes to a new high but CVD fails to make a new high alongside it, that divergence is a warning sign — the move is running on thinner participation than the price action suggests.
3. Volume Profile Accepting the New Area
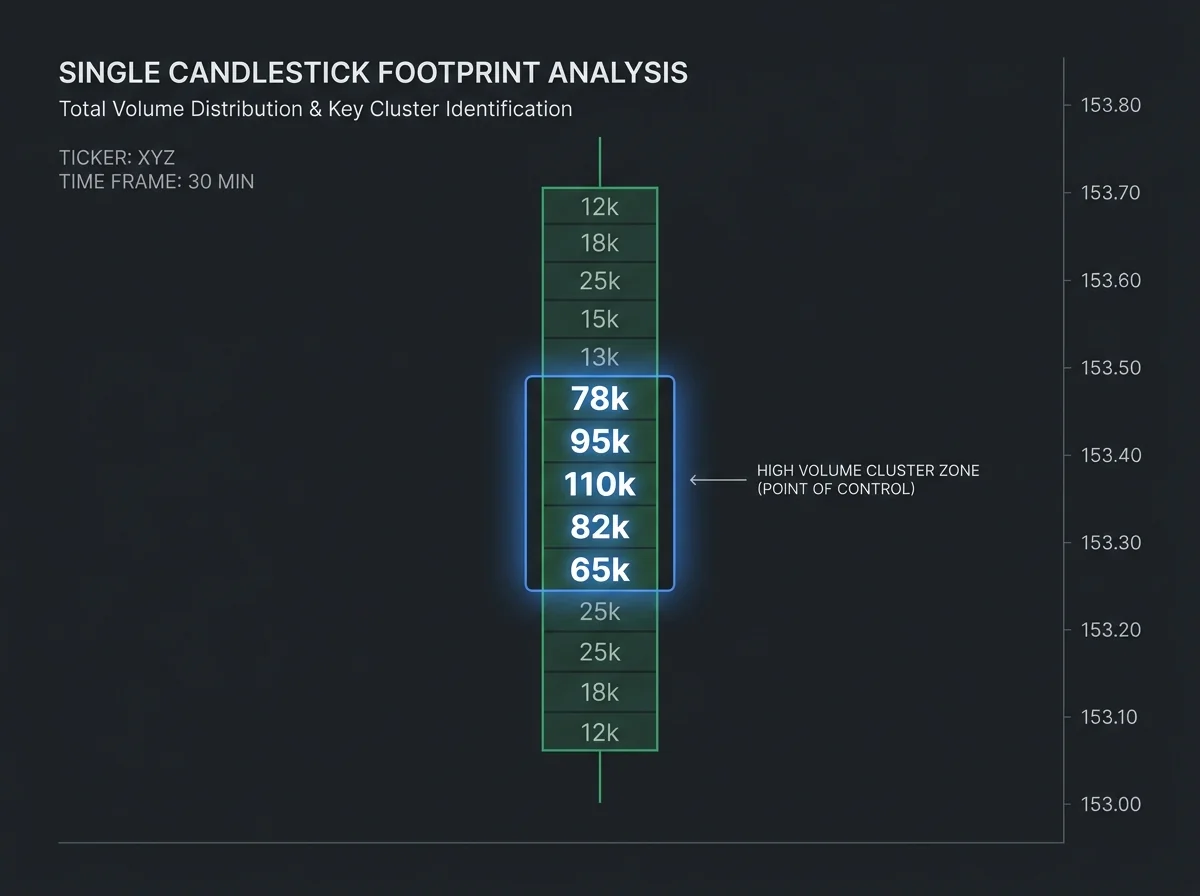
A genuine institutional move doesn't just spike through a price — it builds a new Volume Profile node at the new level as trading continues there. If price pushes higher and then volume stacks up and forms a fresh high-volume node at the new level, that's acceptance: real participants are transacting there, not just passing through. A push that leaves almost no volume behind at the new level is a low-conviction move that hasn't been accepted yet.
4. The Level Behaves Correctly on Retest
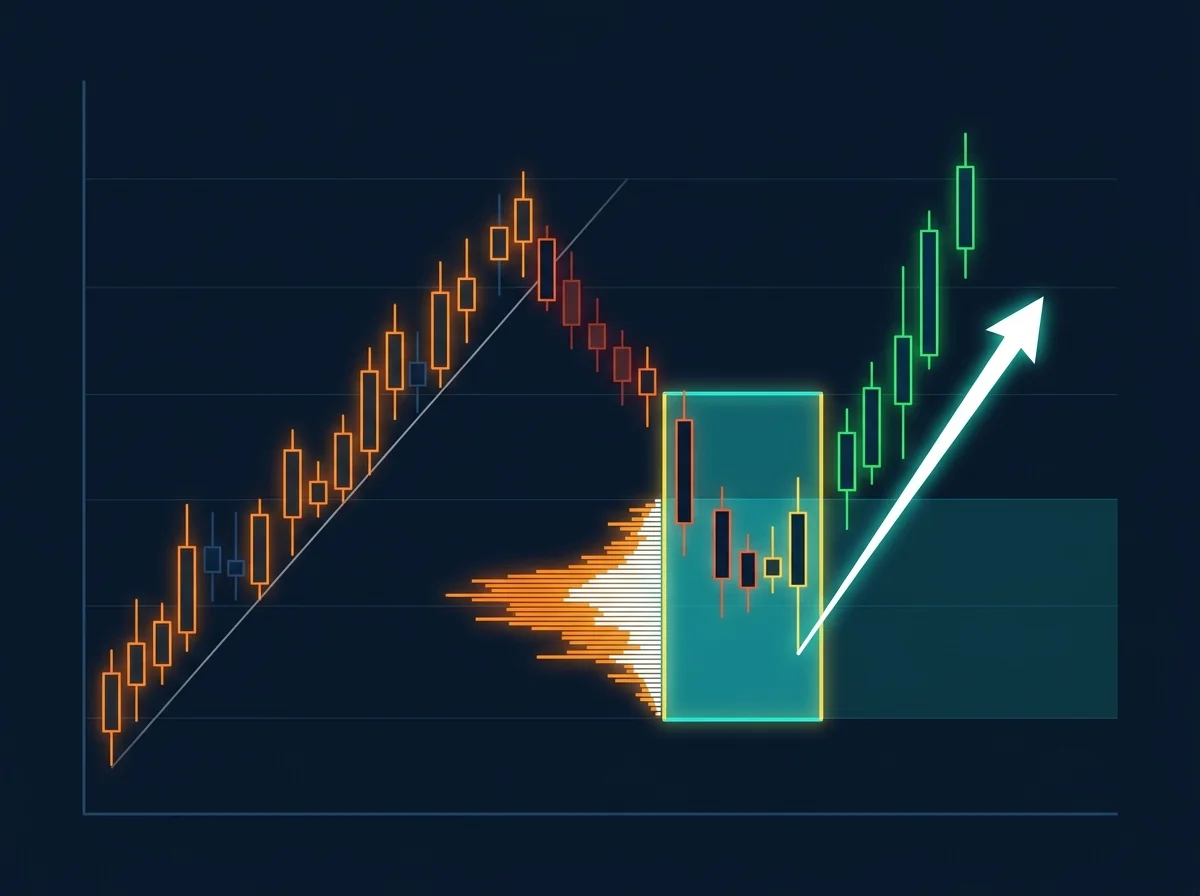
The final check is behavioral. If the move was genuine, a retest of the breakout level or origin point should show the characteristics of absorption in the direction of the original move — aggressive counter-orders getting absorbed rather than reversing price. A retest that breaks straight through the origin level without any defense suggests the original move wasn't backed by committed size after all.
Scoring the Confluence
Treat the four checks as a simple scorecard rather than a strict all-or-nothing gate:
| Signals Aligned | Read | Action |
|---|---|---|
| 4 of 4 | High-conviction institutional move | Trade with the move, size normally |
| 2–3 of 4 | Partial confirmation | Reduce size, tighten invalidation |
| 0–1 of 4 | Likely retail-driven or exhausted | Stand aside or fade with caution |
Where This Fits in a Broader Process
This checklist is not a standalone entry trigger — it's a filter that sits before your entry logic. Combine it with structural context: is the move happening at a meaningful VWAP level, a prior day extreme, or a fresh breakout from balance? The same four-signal check applied at a structurally important level carries more weight than the identical check applied in the middle of an already-extended range.
Common Mistakes
Trading off one signal. A single large print or a single delta spike is a clue, not confirmation. Wait for at least two of the four signals to agree before increasing conviction.
Ignoring divergence. Price making new highs while CVD fails to confirm is one of the most reliable early warnings that a move is running out of real participation — don't dismiss it because price is still climbing.
Treating volume acceptance as instant. Volume Profile building at a new level takes time and multiple visits. Judging acceptance from a single bar is premature — give it room to develop.
Confusing a fast retest with a failed retest. A quick touch-and-go retest that still shows absorption at the level counts as confirmation. Only a retest that breaks cleanly through with no defense counts against the move.
Final Thoughts
Big player confirmation isn't a new indicator — it's a discipline of checking multiple independent pieces of evidence before committing conviction to a move. Large prints show where size is transacting. Delta shows whether that size is actually pushing price. Volume Profile shows whether the market is accepting the new level. The retest shows whether anyone is willing to defend it. Any one of these can mislead on its own. Together, they turn a guess about institutional participation into a checked, structured read.
FAQ
Do I need all four signals before taking a trade?
No. Four out of four is the highest-conviction case, but 2–3 aligned signals is workable with reduced size and a tighter invalidation point. Zero or one aligned signal is where most false moves live.
How long should I wait for Volume Profile acceptance to form?
There's no fixed bar count — watch for the profile to actually build a node at the new level rather than counting minutes. On lower timeframes this can take just a few bars; on higher timeframes it can take considerably longer.
What if delta and price disagree but the other signals are strong?
Delta divergence is the single most important warning signal in this checklist. Weight it heavily — a move with three aligned signals but a clear delta divergence is a lower-conviction case than the scorecard alone suggests.
Does this checklist replace absorption and the order flow filter as separate tools?
No — it uses them as inputs. The order flow filter and absorption read are two of the four checks here; this piece is about combining them with delta and Volume Profile context rather than trading any one of them in isolation.
Related Reading
- Absorption Setup — Trading Reactions at Key Levels
- Order Flow Trade Filter — Seeing Only Institutional Orders
- High-Volume Node (HVN) Pullback — Institutional Footprints
- Volume Profile: The Complete Guide
- Understanding Value Migration with VWAP
Disclaimer: Educational content for traders. Not financial advice, not a signal service, and no outcome is guaranteed. Test every rule yourself before risking capital.
Comments (0)
Comments are moderated. Your comment will appear after it's approved.
Comments are moderated. Your comment will appear after it's approved.
Loading comments…